Fairy #30 Start to Finish Tutorial – Part 2
<< Part 1 | Part 3 >>
Painting the face 
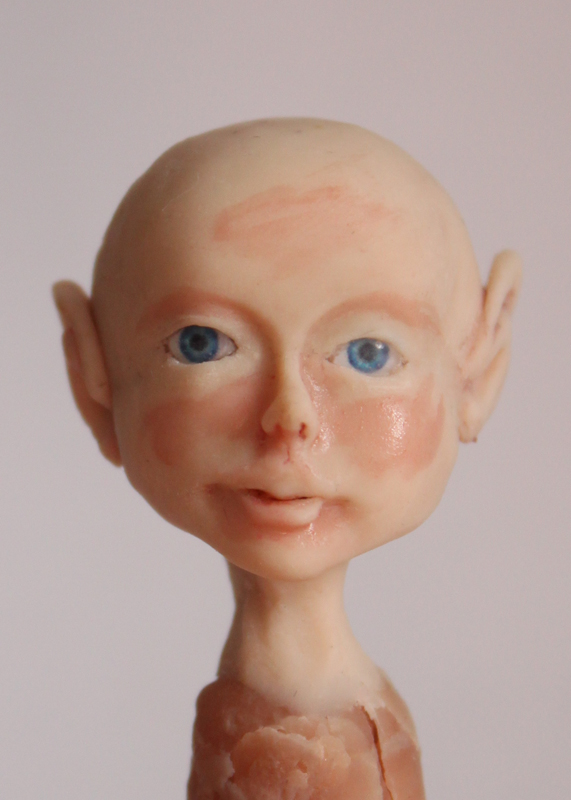
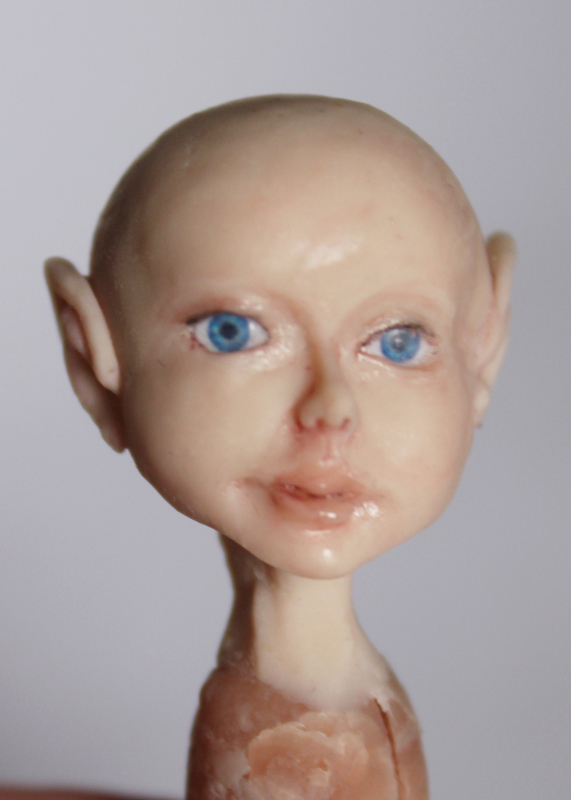
At this point I like to paint the face, but if you prefer you can leave it till you do the body paint. The style of paining is up to you – make it subtle or make it strong like a pin-up doll, but either way you will achieve a nicer result if you slowly build up the layers. You can also bake it for 5min between layers to help set the bottom layer before adding more colour.
There are lots of mediums you can use to thin Genesis paints, any oil thinner will work but I prefer to use Sculpey Oil Softener.
Use a mixture of Genesis Flesh and Red (thinned down with oil thinner) to add blush into all face groves, cheeks and tear ducts. Remove excess and blend in with a cotton bud.
Paint up lips with your preferred colour. Like make-up you can use it to help define the lips by making them bigger or smaller.
Paint up the eyes using black or dark brown around the eyelids. Add some colour for eye shadow. Blend with cotton bud. The shininess is due to the oil thinner, once cooked it is no longer shiny.
Add detailed features such as eyebrows (can be done with a toothpick to get nice thin lines) freckles, beauty spots and such. Cook for 10mins at 130° Celsius to heat set the paint.
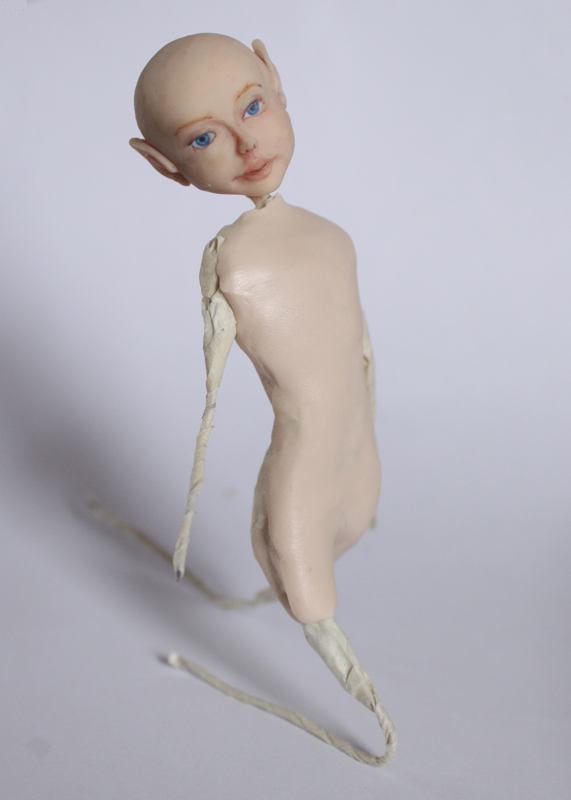
Attach the Head to the Armature 
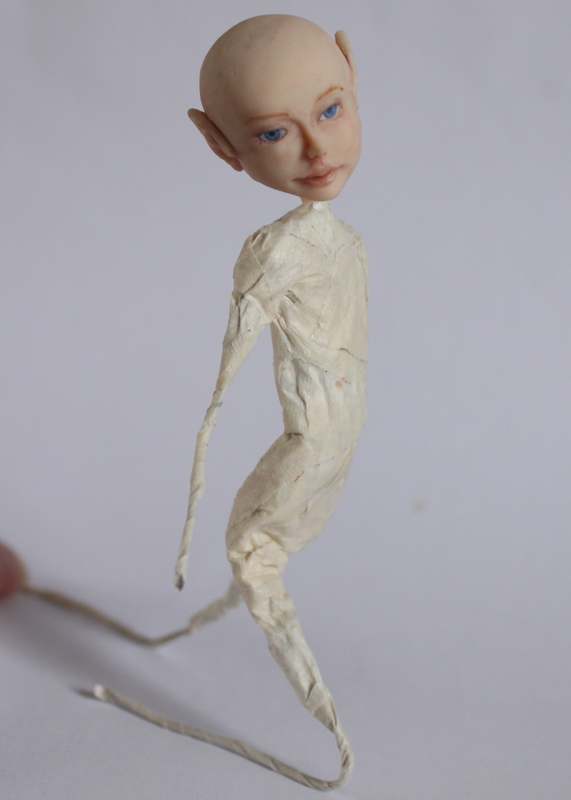
After the head is completely cooled you can remove it from the stick you sculptured it on and add it to the armature using a bit of superglue to keep it in place. Use a drill to extend the hole if it’s too small to fit on the armature.
Having the head in place will assist you when sculpting the body by giving you a good idea on proportions.
Creating the Pose 
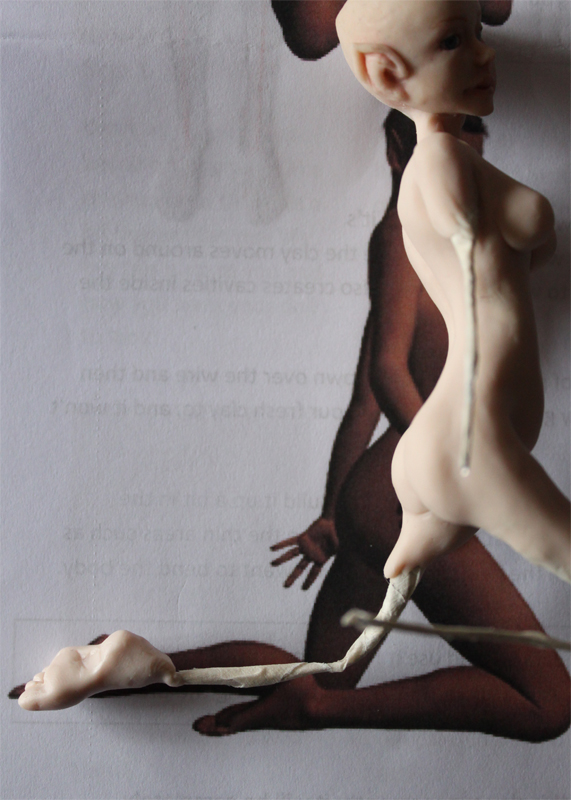
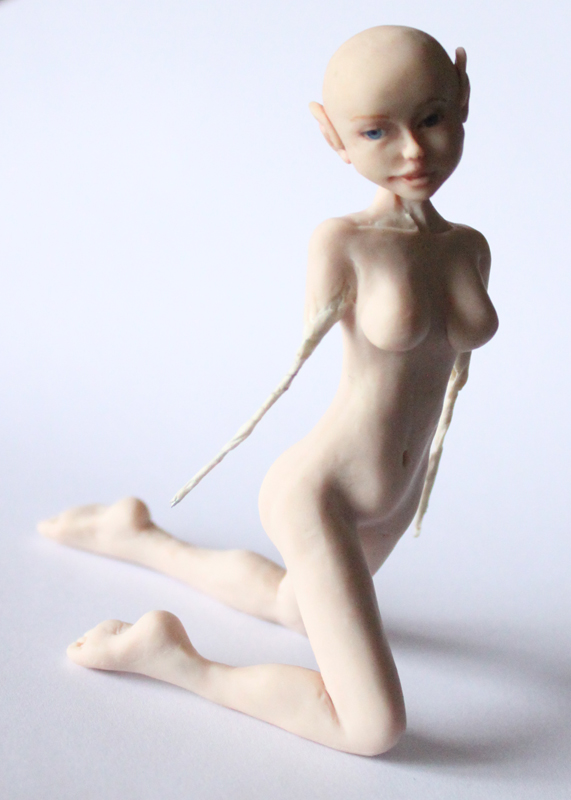
You now need to bend your armature into its pose. To do this simply place the doll over the guideline pictures and bend the doll to suit. Make sure you test out the armature pose over each different view (front, back left and right) to ensure everything is correct. And don’t forget the bend in the torso
If your doll can kneel by itself at this stage that is great, but don’t worry too much if it can’t yet, those wire thin legs aren’t too good at holding up much. And with the clay head she is a bit top heavy at the moment.
Hands and Feet 
With your head all sculpted and painted it’s time to make the hands and feet.
In my past tutorial I had used an armature for the hands. I have now removed this from the tutorial due to the fact that it makes it a bit more difficult. I recommend to all beginners that you sculpt your hands without the armature and either have the fingers together, or press the hand up against the body, both these methods will protect your fingers until you are confident to do more advanced fingers. Also if you cook your doll right your fingers should be strong, and the use of an armature is only really needed for extra strength when the hand is holding something.
The feet however are strengthened with the armature, and I believe it makes sculpting the feet easier, so I have left these in the tutorial.
If you are using one of my kits you will find included a set of some funny looking feet. These have been made using a wire armature covered in cooked liquid clay. If you are not using one of my kits then you can download the instructions to make your own here
You can also view a tutorial on adding clay to a hand armature here
OPTION: Using hands and feet with armature is completely optional. These can, and are by many people, sculptured without the aid of an armature. The choice is yours
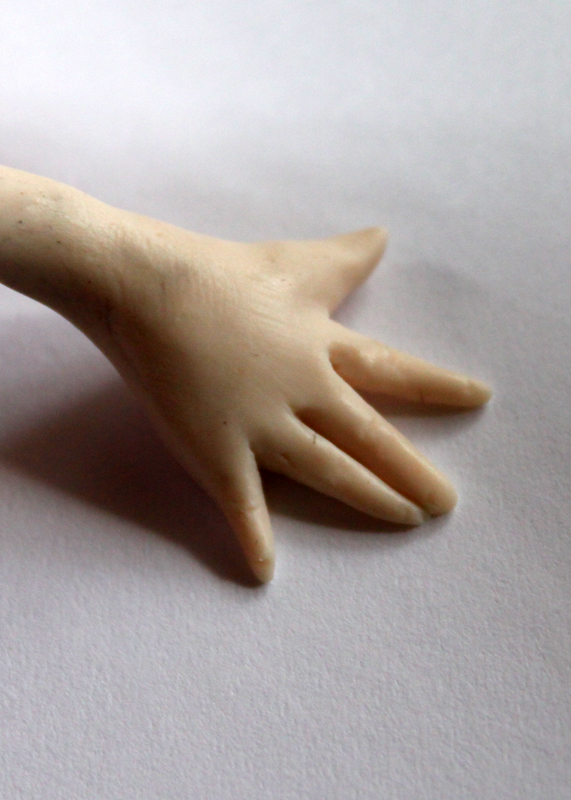
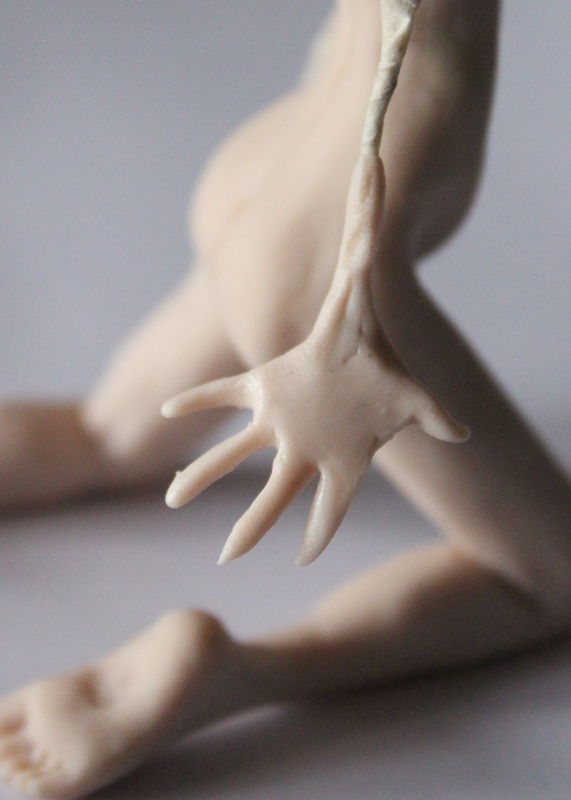
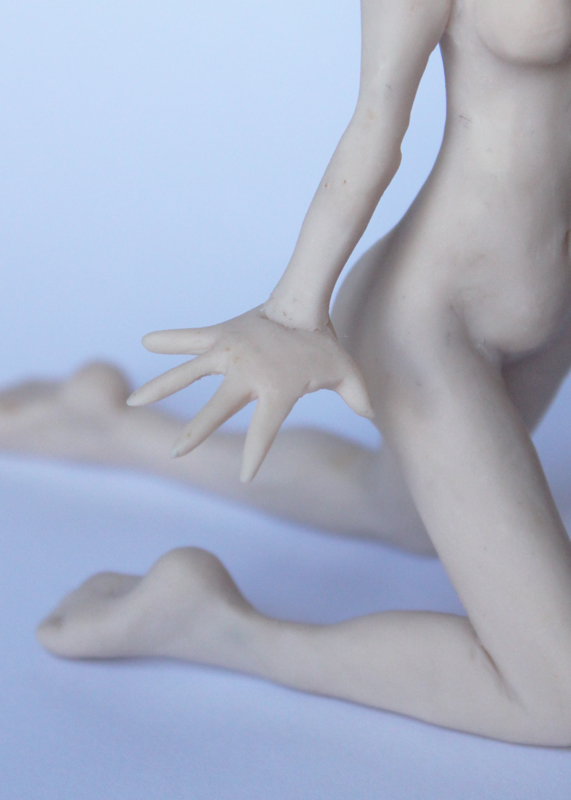
Sculpting the hands
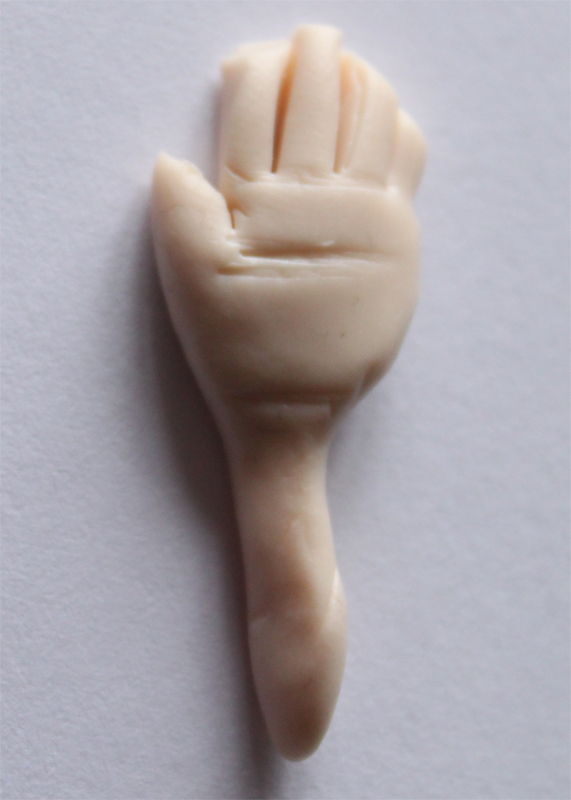
Condition the clay and press into a hand shape.
Keep the fingertips thin, too much clay in the fingers will make fat fingers.
Cut out a segment between the thumb and fingers, and then cut little triangles out of the fingers.
Fingers are thinner at the ends, not straight.
Gently roll the fingers, especially at the base to make them nice and round.
If your fingers are too long just trim the tops off.
Start adding details like fingernails and knuckles but keep it subtle
Keep working each finger adding details until you are happy with them all; ensure you keep turning the hand around to check up sides.
Use your own hand as a constant reference
TIP: You can work out the size of her hand using her face. If you press your palm against your chin you can see your fingers end on the forehead. So just do the same for the doll and get the right sizing.
At this point I recommend you leave them aside uncooked to allow them to cool down (warm clay becomes soft). You could choose to cook them for 10 min if you want, but they are harder to attach when cooked, if you do cook them taper off the clay at the wrist and poke a hole in them where the wrist bone would be (or drill it after cooking).
TIP: You can finely tune fingers after they have been cooked by using your scalpel to carefully scape away excess clay. But only do it when they are 100% cooled, and be ever so careful not to break them.
Sculpting the feet
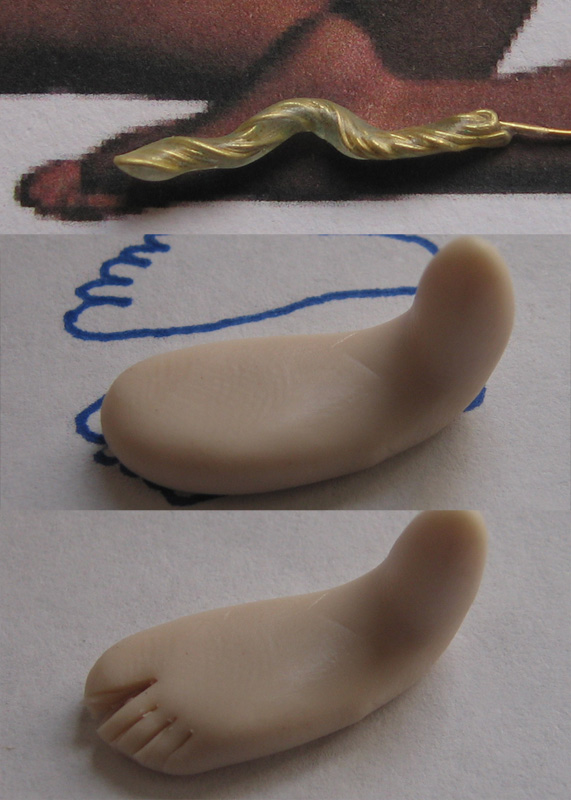
Bend foot armature to match angle of foot and set aside – we will be sculpting the foot separate then adding to the armature at the end
Shape the foot using the foot guide as a reference
Cut out the toes (straight line for the big toe, and angled for the small toes)
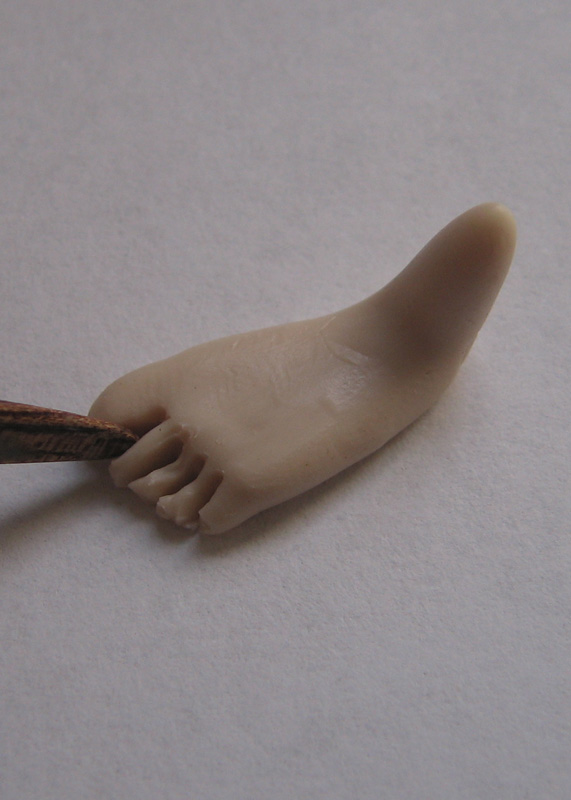
Using the sculpting tool define each toe – making sure they are round and not square. Turn it over and define bottom off toes and line across the base of toes
Alternate between the top and bottom to keep it even. Every now and then give the toes a gentle push together to stop the foot becoming too wide
When you are happy with the toes cut through foot and insert foot armature, ensure you avoid squishing the toes.
Using your fingers press the two sides together and give the foot some shape including extra clay for the heel. Use your sculpting tool to close the seams and make it smooth
Use your scalpel to remove any excess clay where the foot is too wide, add in all the details such as crease lines and toenails.
Repeat for second foot
When you are happy with both feet you can choose either to cook the feet for 10mins at 130° Celsius or leave them uncooked. Cooked will protect them from being squished when attaching, uncooked give you more freedom to tweak while attaching.
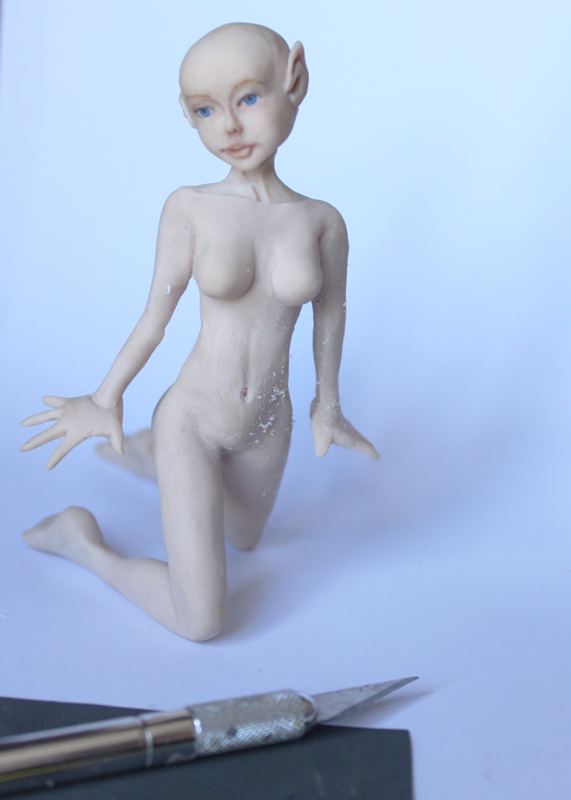
Sculpting the body 
Now the fun part begins – sculpting the body. This is the part I personally enjoy the most
Start sculpting the body working on the torso first.
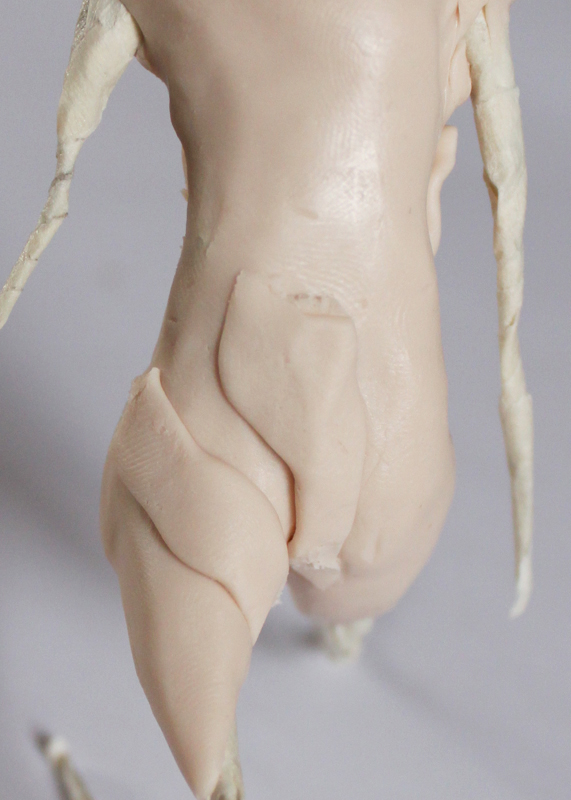
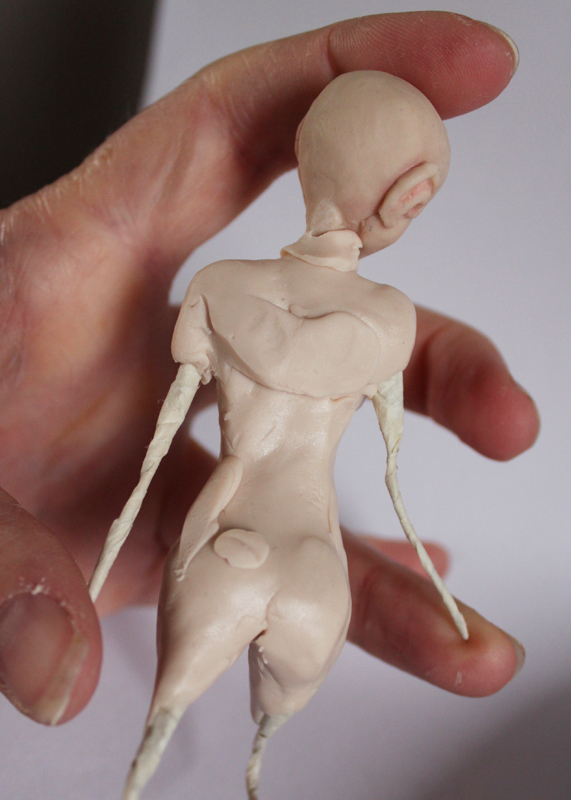
Work the clay soft, roll out and flatten and then run the clay around the body ensuring each layer is pressed and smoothed down.
Start adding mounds of clay to create the right body shape. Ensure each chunk of clay added is firmly pressed down to avoid air pockets that can create surface marks when cooked.
Refer to the reference pictures as you go.
To create the breast roll a ball of clay and cut in half (to get the breasts the same size) shape each half into a teardrop and press onto the chest. Use your thumb to create the curve on the top of the breast, smooth out the top but leave the underneath a sharp curve.
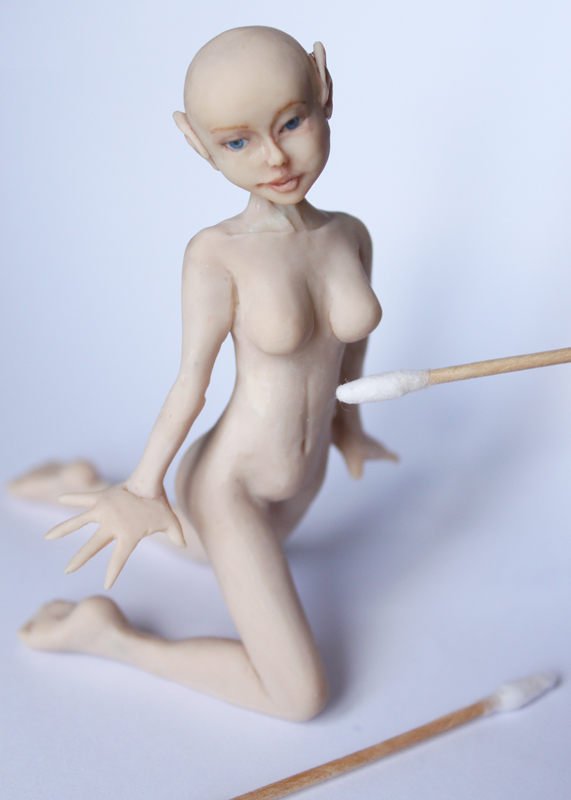
Spend some time smoothing out the torso and adding detail such as the belly button, abs and nipples.
Taper off the arm and leg clay and cook for 10min at 275° Fahrenheit or 130° Celsius
OPTION: : It is up to you if you want to part bake throughout the sculpting process or leave it till the end. Please see the notes under “Part Baking Tips” here for more information on this option.
Attach your premade feet to the armature. Line your foot and body up against the image and chop off any excess leg armature that would make it too long.
Wrap both wires in the masking tape. The clay will also hold them together.
Now that the foot is in place you can sculpt the rest of the thigh, knee and lower leg. Part Bake 10min.
If you are having trouble keeping her legs firmly on the ground try part-baking then add more clay.
Have a quick check of your hand and arm length against the reference image. If the arm will be too long trim it back a bit.
Cut the hand lengthways through the wrist and wrap around the arm armature.
Next sculpt the upper and lower arms.
Once you have everything looking the way you want you can pose the fingers. If you are worried about them breaking you can gently press the fingers together for extra strength. Part Bake 10 min.
Sanding the Sculpture 
The sculpture can be scraped and sanded once it is fully sculpted. Ensure it is completely cooled before handling – for safety I like to leave it untouched at least twice the time I cooked it for. So if your doll is still cooling and you want to keep going you can jump ahead to making the wings, and then come back to this stage when your doll is cooled down.
To give your doll extra smoothness start by scraping the doll with a scalpel. When the entire doll (except the face) is scraped smooth start sanding your doll with a fine bit of wet sandpaper, the wetness helps to stop the clay from clogging up the sandpaper.
When the sanding is finished give the doll a quick wash in water and dry off to remove all excess clay.
When you have gone over all the areas you want and everything is nice and smooth you can use a very light amount of acetone to remove the rough sanding marks. Make sure you use the acetone sparingly as it can make the clay go white if you use too much, also keep your cleaning tool fresh as the clay builds up on it and that can also make the doll get the white marks. I use cotton tips to apply the acetone.
TIP: Putting too much pressure on the sculpt during the sanding process can cause the sculpt to crack, if this happens to your sculpt don’t worry it can be fixed! – see Tips and Tricks
Check over the entire sculpt for smoothness, symmetry, and any last minute fixes. You can make tweaks by adding more clay to cooked areas, and also carve away cooked clay if need be.
Cook doll for 30min at 275° Fahrenheit or 130° Celsius. This is her final bake, and as she is in the oven for a long time you need to take extra care watching the temp to ensure it doesn’t get too hot and burn her!
<< Part 1 | Part 3 >>

